Peach and Apple Cobbler

We were going through the stand freezer and found two bags of peaches that had been frozen a few years ago. Michelle had a recipe on her phone from the old Bell telephone Bell’s Best cookbook for a fruit cobbler.

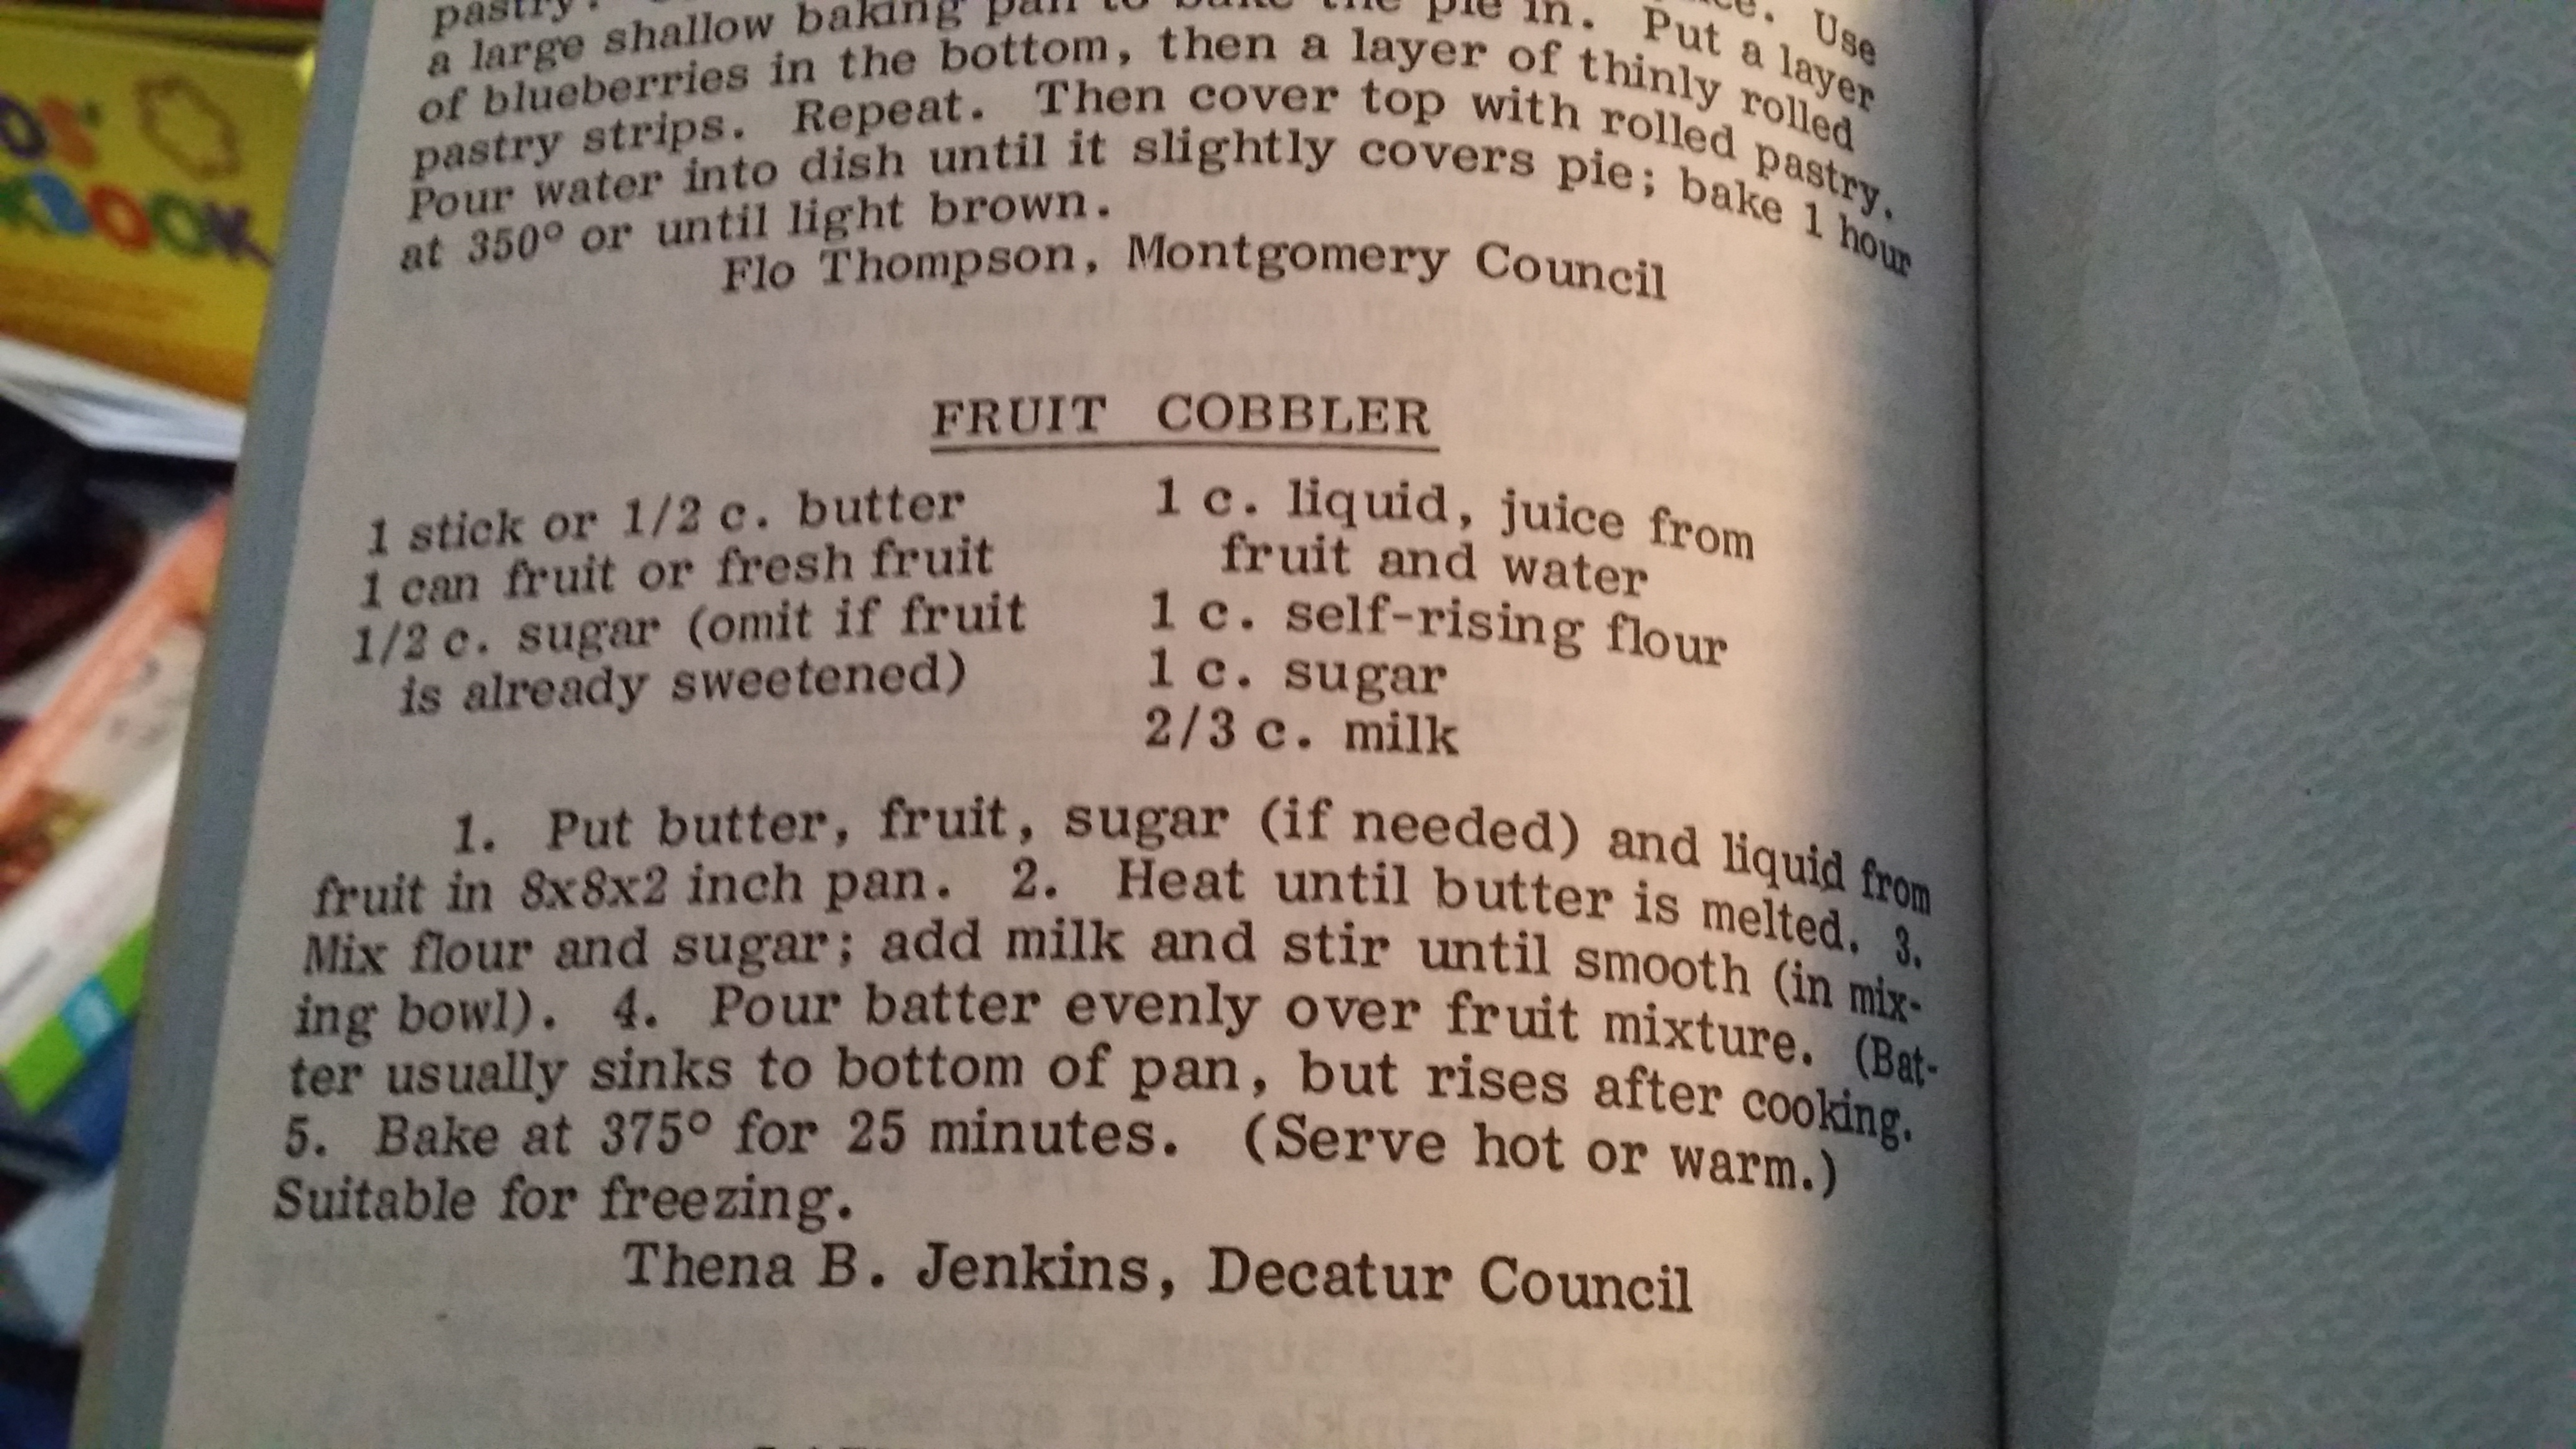
She did make a few changes from the recipe in the cookbook, so check out them below. Because some of the peaches were freezer burned, we made up for the loss with applesauce. At my suggestion, she also added some Peach Schnapps to up the peach flavor.

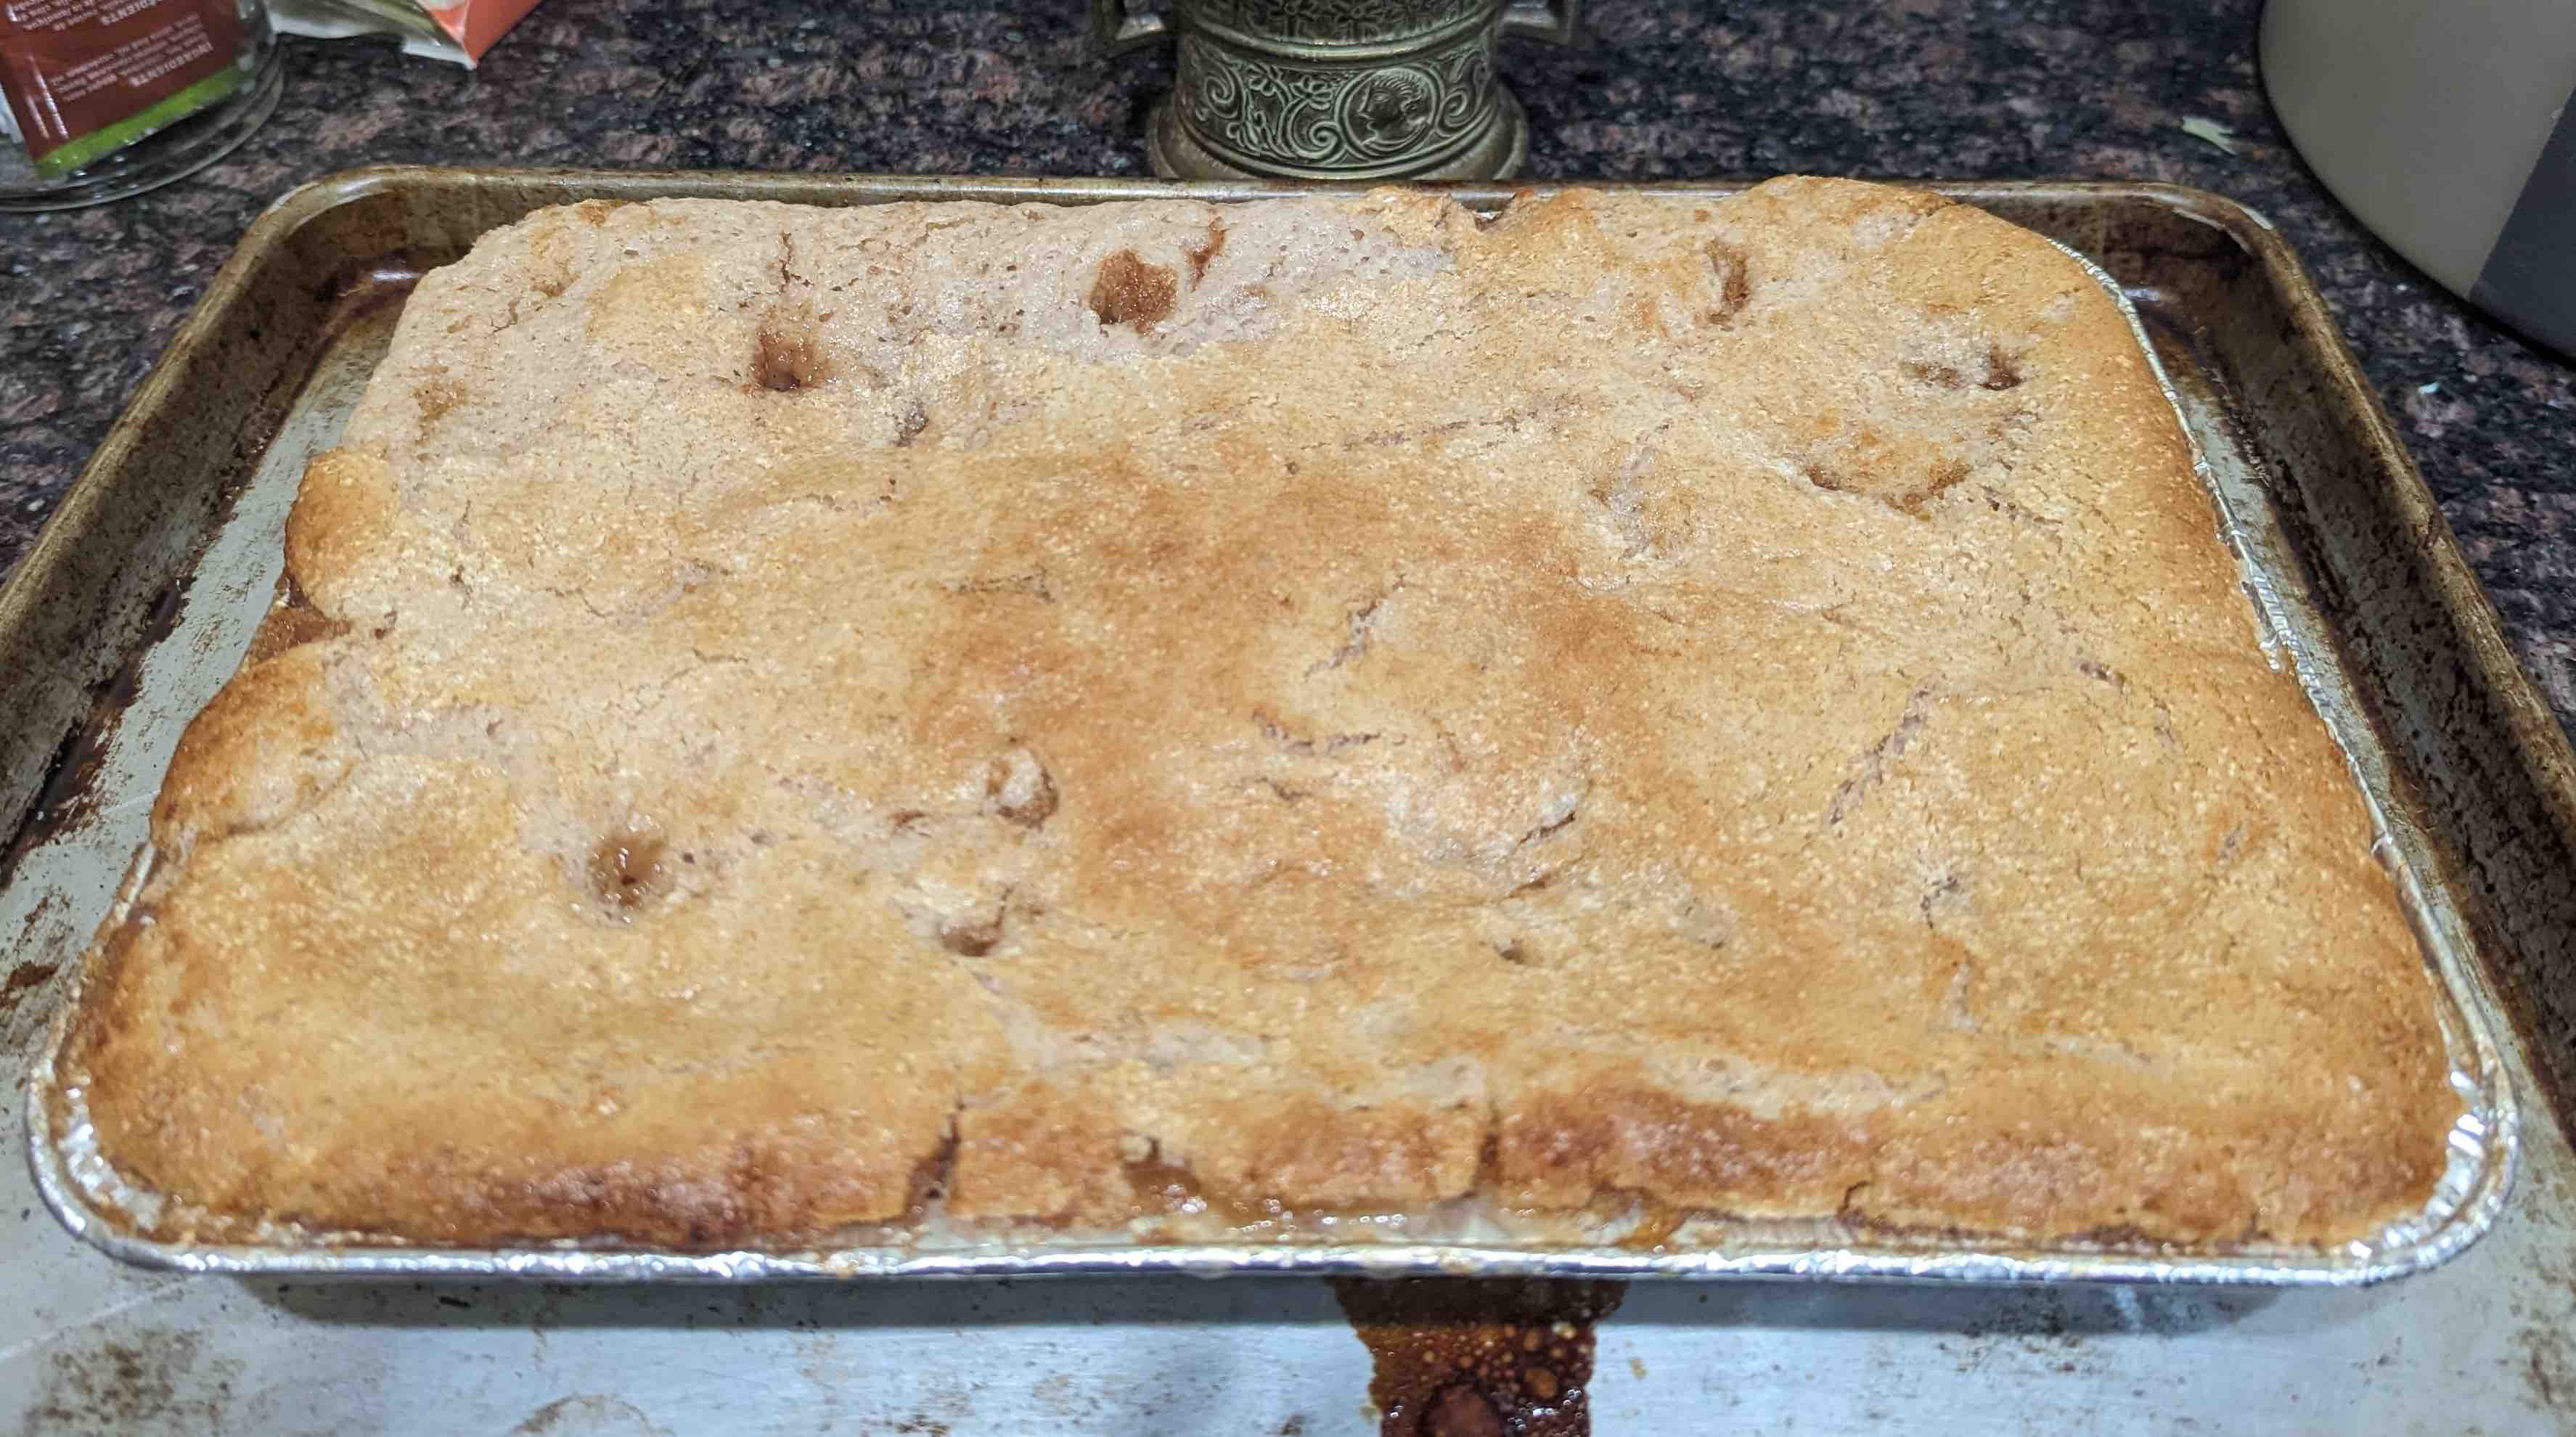
Michelle also pre-thickened the fruit sauce as the cobbler cooks too quickly to do it all in the pan. I advise you to place the pan over a baking sheet in case it overflows.

Peach Cobbler


1 pint frozen or 2 cans peaches, sliced
1 ½ cups unsweetened apple sauce
3/4 cup sugar
8 ounces apple juice plus all the peach juice
2 teaspoons cinnamon
1 ½ sticks unsalted butter
2 tablespoons Peachtree Peach Schnapps (I use DeKuyper), optional
2 cups self rising flour
1 ½ cups sugar
1 cup buttermilk
½ cup milk

Butter a 9 x 13 pan. Preheat oven to 375 degrees F.

Put fruit, sugar, apple sauce, apple juice plus liquid from peaches and cinnamon into a saucepan over medium heat. Bring to a simmer and cook until sugar is dissolved. Place in the butter and melt completely. Cook until slightly thickened. Remove from heat and pour in Peach Schnapps, if using. Pour mixture into prepared pan.

Whisk together flour and sugar in a mixing bowl. Shake the buttermilk well and stir it and the milk in until smooth. Pour batter evenly over fruit mixture. Batter will sink to begin with but then rises after cooking.

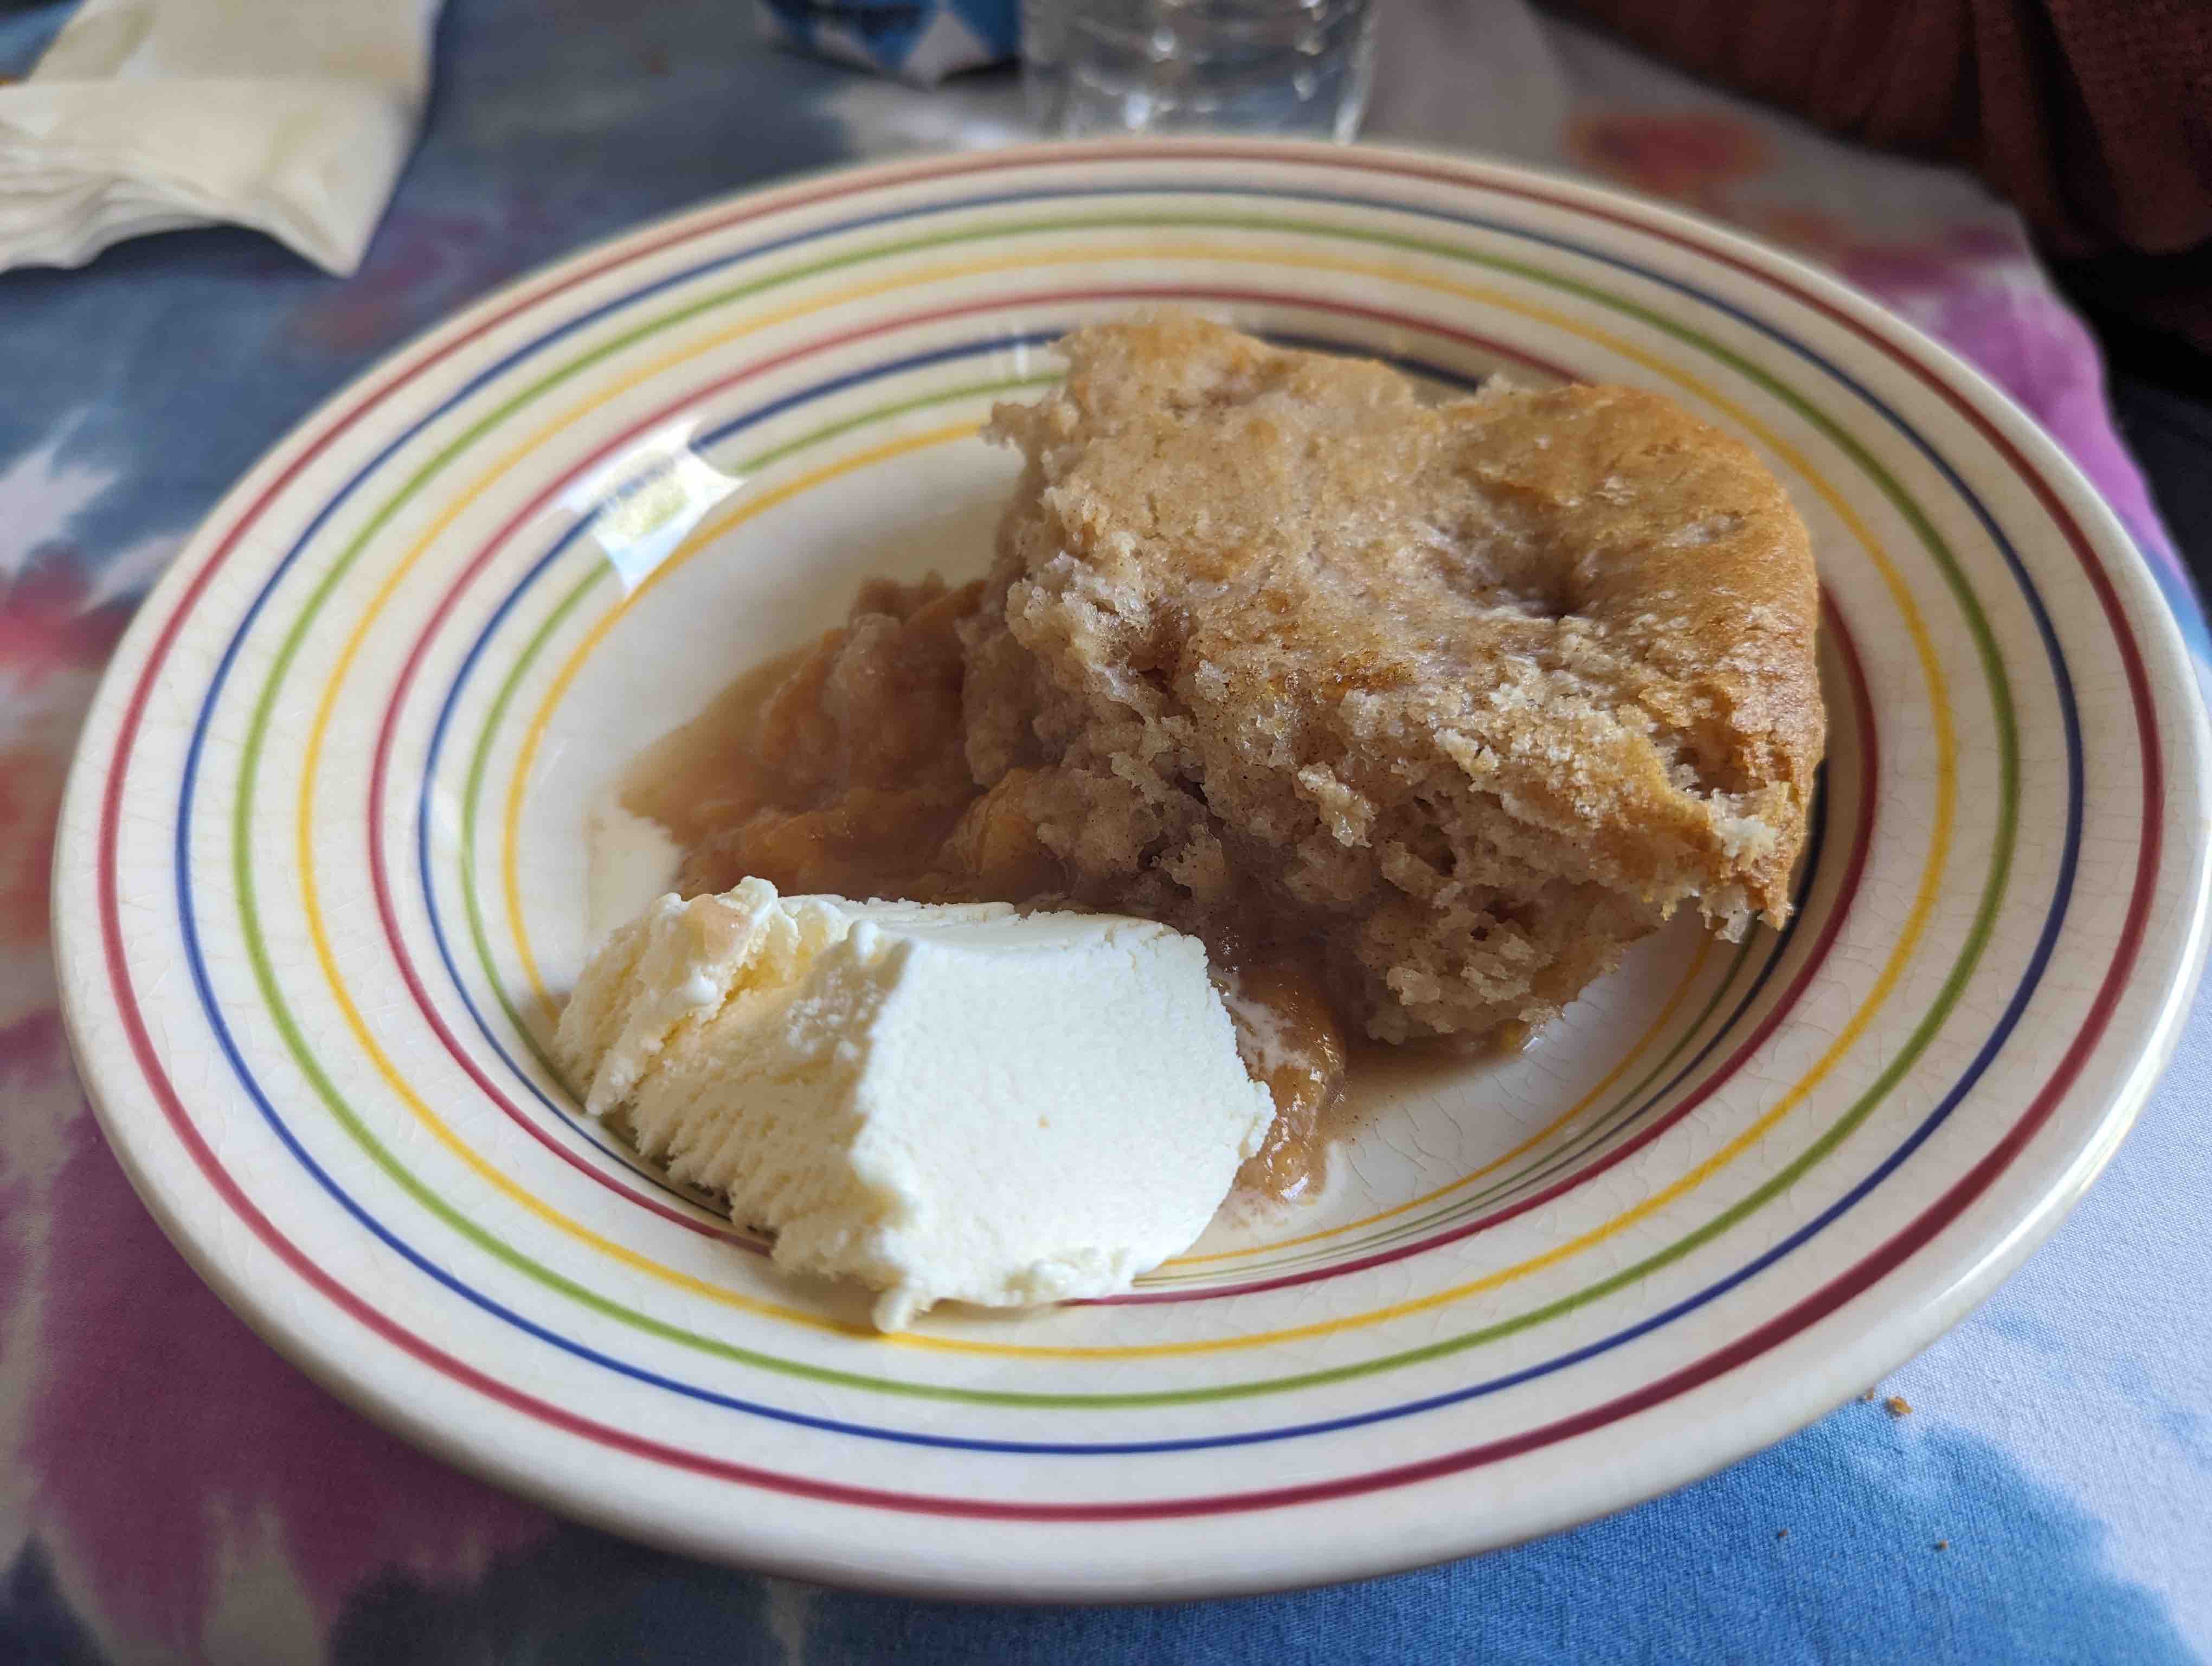
Bake for 25-35 minutes or until top is golden brown. Serve hot or cold with lots of vanilla ice cream.

Flan de Satsuma

Michelle and I wanted to do something different with the extra bag of satsumas my sister brought to me. I collected about a tablespoon of zest and we went looking for a recipe that could take it all. I’ve done a panna cotta recipe but we decided to leave Italy and head to Spain.

We found a flan de naranja recipe that we decided to make with our satsumas. Michelle put everything together and came up with a lovely caramelized satsuma sauce and cream custard sweetened with more satsuma juice.

Such a light, delicate flavor and smooth as silk. A lovely dessert for when you don’t want a hugely sugary snack.

Flan de Satsuma

Caramel Sauce
½ cup satsuma juice
½ cup granulated sugar

Custard
1 tablespoon satsuma zest
1 teaspoon lemon zest
½ cup satsuma juice
2 cups heavy cream
3 large eggs
¼ cup sugar

Preheat oven to 325 degrees F.

Place the sauce ingredients into a heavy saucepan and bring to a boil over medium heat. Stir the boiling mixture constantly and reduce until it is thickened and darkened to a rich brownish color. This will take at least 10 minutes.

Remove from heat and spoon into 6 large ramekins. Do not let the sauce sit in the pan as it hardens quickly.

Add the zest, satsuma juice and cream to a large saucepan over medium heat. Scald the cream mixture and then remove from heat. Whisk the eggs into a medium mixing bowl along with the remaining sugar. Temper the eggs with a small amount of the hot cream mixture and continue until everything is in one bowl and the sugar has dissolved. Strain the mixture back into the mixing bowl, using a fine strainer or cheesecloth. Ladle the mixture into the prepared ramekins.

Place ramekins into a 9×13 pan and pour into water to come about halfway up the sides. Bake uncovered in the water bath for 45 minutes to an hour. Custard is done with a knife comes out clean when inserted midway between the center and the edge.

Carefully remove ramekins from the water bath and let cool on the counter for at least 20 minutes before moving to the refrigerator to chill completely, at least 1 hour or overnight. When ready to unmold, run a knife around the edge of the ramekin. Place a plate over the ramekin and then invert. Tap the bottom of the ramekin and mutter magic words so that the flan slides out onto the plate and is surrounded by the sauce. If that doesn’t work, prod the flan out with a knife and tap harder!

¡Buen provecho!

Cocoa Mix Dip

I’ve been trying to come up with things that are easy to make and will also tempt the appetite. I dug into my holiday recipe folder and brought out this one. I first made it with a ½ cup of Ghirardelli’s Sweet Ground Chocolate and Cocoa Powder but, since I was out of that, I grabbed two of the packs of Swiss Miss Rich Chocolate Hot Cocoa mix I found in the pantry.

If you want to make half a recipe, use a knife to cut the Cool Whip in half and make the dip with one envelop or ¼ cup of ground chocolate and cocoa.

Hot Cocoa Dip

½ cup cocoa mix (or two envelopes of cocoa mix)
8 ounce tub of Cool Whip whipped topping
Graham crackers

Soften the Cool Whip for about 15 minutes on the counter. Mix with the powdered cocoa mix and return to the refrigerator until ready to serve. Stir again to loosen and serve with graham crackers.

Triple Chocolate Cake or How To Gussy Up Devil’s Food Cake Mix

Sometimes, making things with a box mix just makes sense. I’ve been in caretaking mode and needed something that would stimulate an appetite but not be difficult to make in the limited time I have. It also helps to have cake around with grand kids and great-grands over to visit my mom.

I’ve also been craving chocolate and this recipe uses three kinds with the devil’s food cake mix, with chocolate pudding and with bittersweet morsels.

My original recipe had it being made in a bundt pan but a 9×13 pan works well, too.

Yummy! Richly chocolate, moist and delicious, the cake was half gone before I was able to take a picture.

Gussied Up Devil's Food Cake

1 box Devil’s Food Chocolate Cake Mix (I used Duncan Hines)
1 small package of Chocolate Pudding (I used 5.9 ounces of the pudding mix I make)
1 cup Greek yogurt
3/4 cup vegetable oil
4 eggs
⅓ cup hot coffee
1 cup bittersweet chocolate chips, roughly chopped

Preheat oven to 350F. Butter a 9×13 pan and dust with flour or cocoa.

In the bowl of a stand mixer or in a medium-large mixing bowl with an electric mixer, combine cake mix, pudding mix, Greek yogurt, oil, eggs, and hot coffee. Begin mixing on low-medium speed, then gradually increase to medium-high speed and beat for a couple of minutes, until smooth.

Stir in chocolate chips.

Pour batter into prepared pan. Bake for 50-55 minutes, or until top springs back when touched and a toothpick inserted in the middle comes out clean.

Allow cake to cool in pan for about an hour. Allow cake to completely cool before frosting.

Chocolate Cream Cheese Frosting
1 stick butter, softened
1 8oz package of cream cheese, softened
1 3/4 cups confectioners sugar
¼ cup cocoa
1 teaspoon vanilla extract

Sift together powdered sugar and cocoa. Add to a mixing bowl with the softened butter and cream cheese and beat to mix. Add 1 teaspoon vanilla extract. Increase speed of mixer and continue until light and fluffy.

Honey Tea Cake

I am getting a lot of recipes passing by my social feeds for Rosh Hashanah. I was intrigued by the honey tea cakes in particular. They all looked delicious but I knew I had to make a couple of tweaks. Most seem to have almonds on top but I’m much more of a fan of pecans. Many also use Earl Grey tea but as I love the flavors of Constant Comment, I used two of those bags.

If you use 3 mini loaf pans, they won’t nearly overflow like these. Even with the impressive size, they taste wonderful. Light and flavor but not too sweet. Perfect for a tea break or just to enjoy with coffee.

Have a good and sweet year! Shanah tovah um’tukah!

Honey Tea Cake

Steep 2 black tea teabags in 1/2 cup of water (I used Constant Comment)
1 ¼ cups all purpose flour
1 teaspoon of baking powder
½ teaspoon of baking soda
1 teaspoon cinnamon
¼ teaspoon salt
2 large eggs
½ cup brown sugar
½ cup of vegetable oil
½ cup honey
½ cup of toasted pecans, chopped

Preheat oven to 350 degrees F. Lightly oil 3 mini loaf pans or 1 large one.

Sift together flour, baking soda, baking powder, cinnamon and salt. Set aside.

Mix eggs and brown sugar. Whisk in oil and then honey and mix until smooth. Add flour mixture, whisking to combine. Stir in tea.

Pour batter into loaf pans. Sprinkle top with pecans. Bake 30-40 minutes or until a toothpick inserted into the center comes out clean.

These cakes freeze well, just wrap in plastic wrap and place in a zip top bag.

Coconut Brownies

I had most of the can of cream of coconut left over from my piña coladas the other night. There wasn’t enough to make coconut macaroons but there was plenty to make coconut brownies (plus enough to experiment with another cocktail).

Decadently rich with a lovely coconut and very deeply chocolate flavor. So yummy!

Coconut Brownies

4 ounces bittersweet chocolate
3/4 cup Coco Lopez® Cream of Coconut
1 ½ cups sugar
3 large eggs, beaten
1 tablespoon vanilla extract
1 cup all-purpose flour
1 teaspoon baking powder
½ teaspoon ground cinnamon
¼ teaspoon salt
1 cup chocolate morsels (I used Ghiradelli Bittersweet morsels)

Preheat the oven to 35O°. Butter an 8-inch square brownie pan.

Melt the chocolate in the coconut cream in the top of a double broiler over simmering water. Remove from heat.

Combine the sugar, eggs and vanilla in a large mixing bowl and whisk until smooth. Mix in the chocolate mixture. Sift together the flour, cinnamon, baking powder and salt. Add to the brownie batter and just to mix to combine. Stir in the chocolate morsels. Pour the batter into the prepared pan.

Bake the brownies until the top is crusty, but the center remains a little soft, about 35 minutes. Let cool completely in the pan on a wire rack. Cut the brownies into 8 rectangles.

Fudgy Chocolate Cherry Cookies

I had an opened bag of dried cherries that was slowly petrifying. I wanted to make something that would bring them back to life but I also wanted chocolate.

I could have replumped the cherries using steam or a double boiler (something I typically do for raisins before adding them to Oatmeal Raisin Cookies) but I wanted to add some flavor. I had a bottle of Cortas Orange Blossom Water that was ideal as cherries, oranges and chocolate go so well together.

The result was chewy cherries in a rich fudgy chocolate cookie with a delicate perfume of orange. Some pecans for nuttiness and the cookies were super delicious!

Fudgey Chocolate Cherry Cookies

1 ½ cup all purpose flour
½ teaspoon baking soda
½ teaspoon salt
1 cup dried cherries, roughly chopped
2 tablespoons Orange Blossom Water (I used Cortas)
1 stick unsalted butter
4 ounces bittersweet chocolate, chopped
¼ cup cocoa powder
1 large egg
½ cup packed dark brown sugar
¼ cup white sugar
1 teaspoon vanilla extract
½ cup bittersweet or semi-sweet chocolate morsels
½ cup pecans, chopped

Heat the oven to 325 degrees F. with the racks in the upper and lower middle positions.

In a medium bowl, whisk together the flour, baking soda and salt; set aside.

In a microwave safe bowl, stir together the cherries and orange blossom water to flavor and plump up the dried cherries. Microwave uncovered on high until the cherries for 30 seconds to a minute. Stir and set aside. The cherries will slowly absorb the liquid.

In a double boiler over low heat, melt the butter. Add the chopped chocolate and the cocoa. Whisk until the chocolate is melted and the mixture is smooth. Let cool until barely warm to the touch.

In a stand mixer with the paddle attachment, beat the egg and both sugars until combined. With the mixer running on low, add the vanilla, then slowly pour in the chocolate-butter mixture. Beat on medium until well mixed, scraping down the bowl once or twice. With the mixer running on low, add the dry ingredients, then mix just until combined. Stir in the chocolate chips, the pecans and the cherries along with any remaining liquid until the ingredients are evenly distributed.

Divide the dough into large spoonfuls and roll each portion into a ball with your hands. Place the balls on baking sheets, spacing them evenly. Bake until slightly cracked on top and the edges feel firm, 14 to 16 minutes, switching and rotating the baking sheets about halfway through. Cool on the baking sheets for 5 minutes, then transfer the cookies to a wire rack. Cool to room temperature before storing in an airtight container.

Adultifying Chocolate Coconut Macaroons

I love macaroons and have done a version before (recipe for Chocolate Coconut Pecan Joys here) but I wanted to do one with a little kick. I tried plain rum but the flavor was too mild. The spiced plus the addition of dark chocolate was much, much better.

Lovely coconut flavor and not too sweet.

Chocolate Rum Coconut Macaroons

1 large egg
1 large egg white
1 tablespoon spiced rum (I used Old New Orleans Cajun Spice Rum)
1 teaspoon vanilla extract
2 ½ cups sweetened flake coconut
4 ounces semisweet or bittersweet chocolate (I used Ghirardelli Bittersweet Baking Bar)

Preheat the oven to 375 degrees F. Line a baking sheet with a silicone baking mat or parchment paper.

Lightly whisk the egg and egg white in a medium bowl until frothy. Whisk in the rum and vanilla. Using a rubber spatula, fold in the coconut. Take about 2 tablespoons of the mixture and squeeze it between your hands (like making a snowball). Place on the baking sheet, leaving some space in between each one. Bake until the edges are golden and crispy, about 10 minutes. Cool.

Melt chocolate in double boiler. Dip tips of macaroon in the chocolate or, if feeling artistic, drizzle the chocolate over macaroons with slotted spoon. If you’re feeling generous, do both!

Store in an airtight container.

Pi Day 2023 – Creole Cream Cheese Chocolate Chess Pie

Classic chess pie pairs a traditional buttery pie crust with a sweet, custardy filling. Michelle and I had a great version at High Hat Cafe that used Creole Cream Cheese. Country Roads Magazine posted the High Hat Cafe’s recipe a few years ago and we used that as the stepping off point for our pie.

I picked up the Creole Cream Cheese at Dorignac’s Food Center but you can make your own (recipe here) if you aren’t in the area. As chocolate makes everything better, we added a little cocoa powder both for flavor and to cut the sweet a bit.

The end result is a creamy chocolate pie with a slight tang. Delicious!

Creole Cream Cheese Chocolate Chess Pie

16 ounces Creole cream cheese at room temperature
4 eggs
1 3/4 cups sugar
¼ cup unsweetened cocoa (I use Hershey’s Special Dark), sifted
1 teaspoon vanilla extract
2 tablespoons unsalted butter, melted
pinch of salt
1 frozen deep dish or 10″ pie crust
 
Preheat oven to 350 degrees F.

Prick the bottom of the pie crust with a fork and par-bake the pie crust for 15 minutes.

Drop oven temperature to 300 degrees F.

Whip eggs, sugar, vanilla extract, butter and salt in stand mixer until well incorporated. Add in the Creole cream cheese and cocoa powder and mix until smooth. Pour into the pre-baked pie crust. Bake the pie for 60 minutes, rotating halfway through, until set in the middle. Let cool before serving.

Lemon Cream Tarts

I love lemon curd but wanted to do something a little different than my standard lemon pie. I used as a stepping off point a copy of the Tartine Bakery’s Lemon Cream recipe that I clipped from a newspaper almost 20 years ago.

Because there is so much whisking involved to get the lemon cream, I cheated on the pie crust. Instead of making my own, I used frozen tart shells from Dutch Ann. To pre-bake the pie shells: thaw and prick bottom and sides of shells with a fork and bake at 350 degrees F, 12 to 14 minutes.

Pure lemon flavor. I ended up eating what didn’t get baked into tarts with a spoon. It makes a delicious lemon pudding on its own.

Lemon Cream Tarts

1/2 cup plus 2 tablespoons lemon juice
3 large eggs
1 large egg yolk
3/4 cup sugar
1 pinch salt
1 cup unsalted butter, softened

8 tartlet shells (I used Dutch Ann Frozen Tart Shells), pre-baked

Combine the lemon juice, whole eggs, yolk, sugar, and salt in the top of a double boiler set over low heat and prepare to stir for a while. Try not to leave the egg yolks and sugar for more than a moment or two without stirring; the sugar will cook the yolks. Whisk until the mixture becomes very thick and registers 180 degrees F on a thermometer. This will take at least 15 minutes. It is thick enough when the whisk leaves a trail through the curd.

Remove the bowl from over the water and let cool for about 5 minutes, stirring from time to time to release the heat.

Meanwhile, cut butter into 1-tablespoon pieces. When the cream is ready, pour it into a blender. With the blender running, add the butter 1 tablespoon at a time, blending after each addition until incorporated before adding the next piece. The cream will be pale yellow and opaque and quite thick.

Pour the lemon cream into the pre-baked pie shells and bake for 10 minutes at 350 degrees F.

Store any remaining lemon cream in an airtight container in the refrigerator.